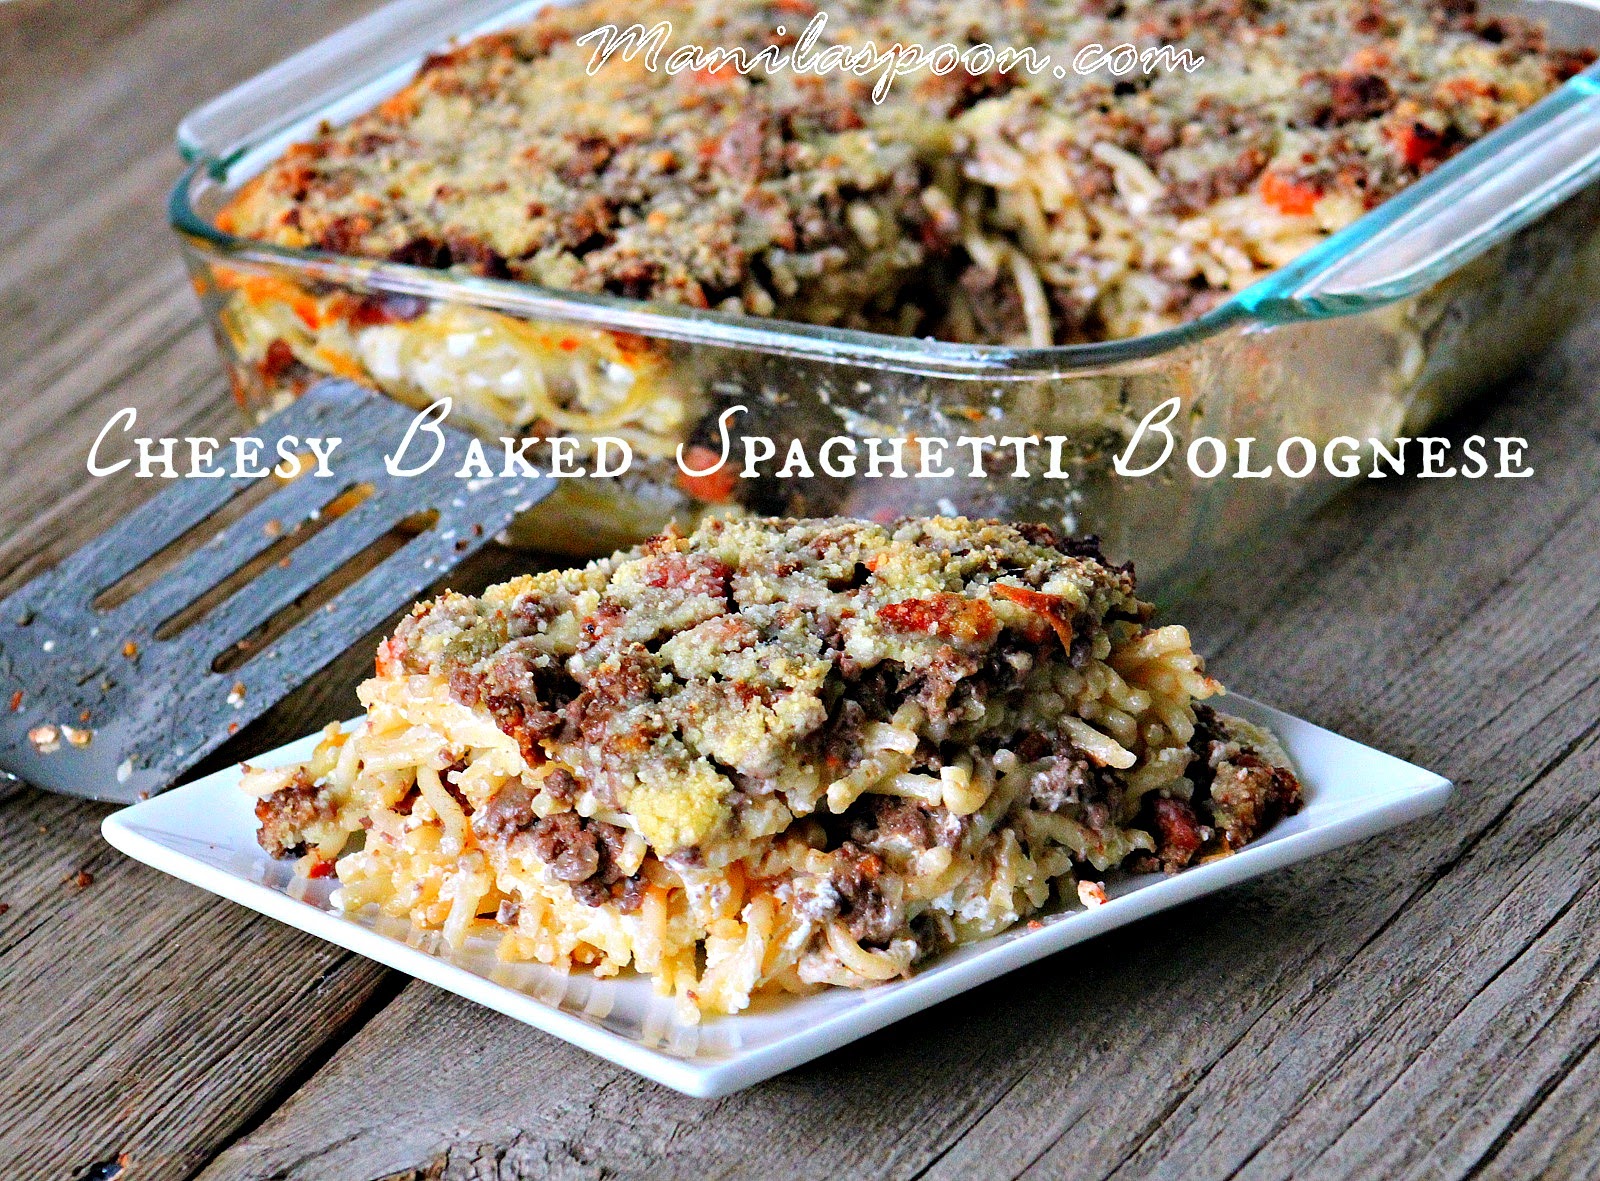
When company's coming and I want an easy but delicious comfort food, I always
rely on Baked Bolognese. I didn't think it would work the first time I tried it
but people who had them seemed to like them and I always had good feedback. So I thought, it's about time I share this delicious baked pasta to all of you. For the Bolognese Sauce, here's the
recipe. It is absolutely indispensable for this dish. So if you don't want the same old recipe for Baked Pasta - try this!
Ok I must add that this is not very diet-friendly so serve this only occasionally, like when company's coming. It makes a huge batch (9x13 casserole dish) so you can still manage with some portion control! It's so good though that every calorie is worth it! :-)
Ingredients
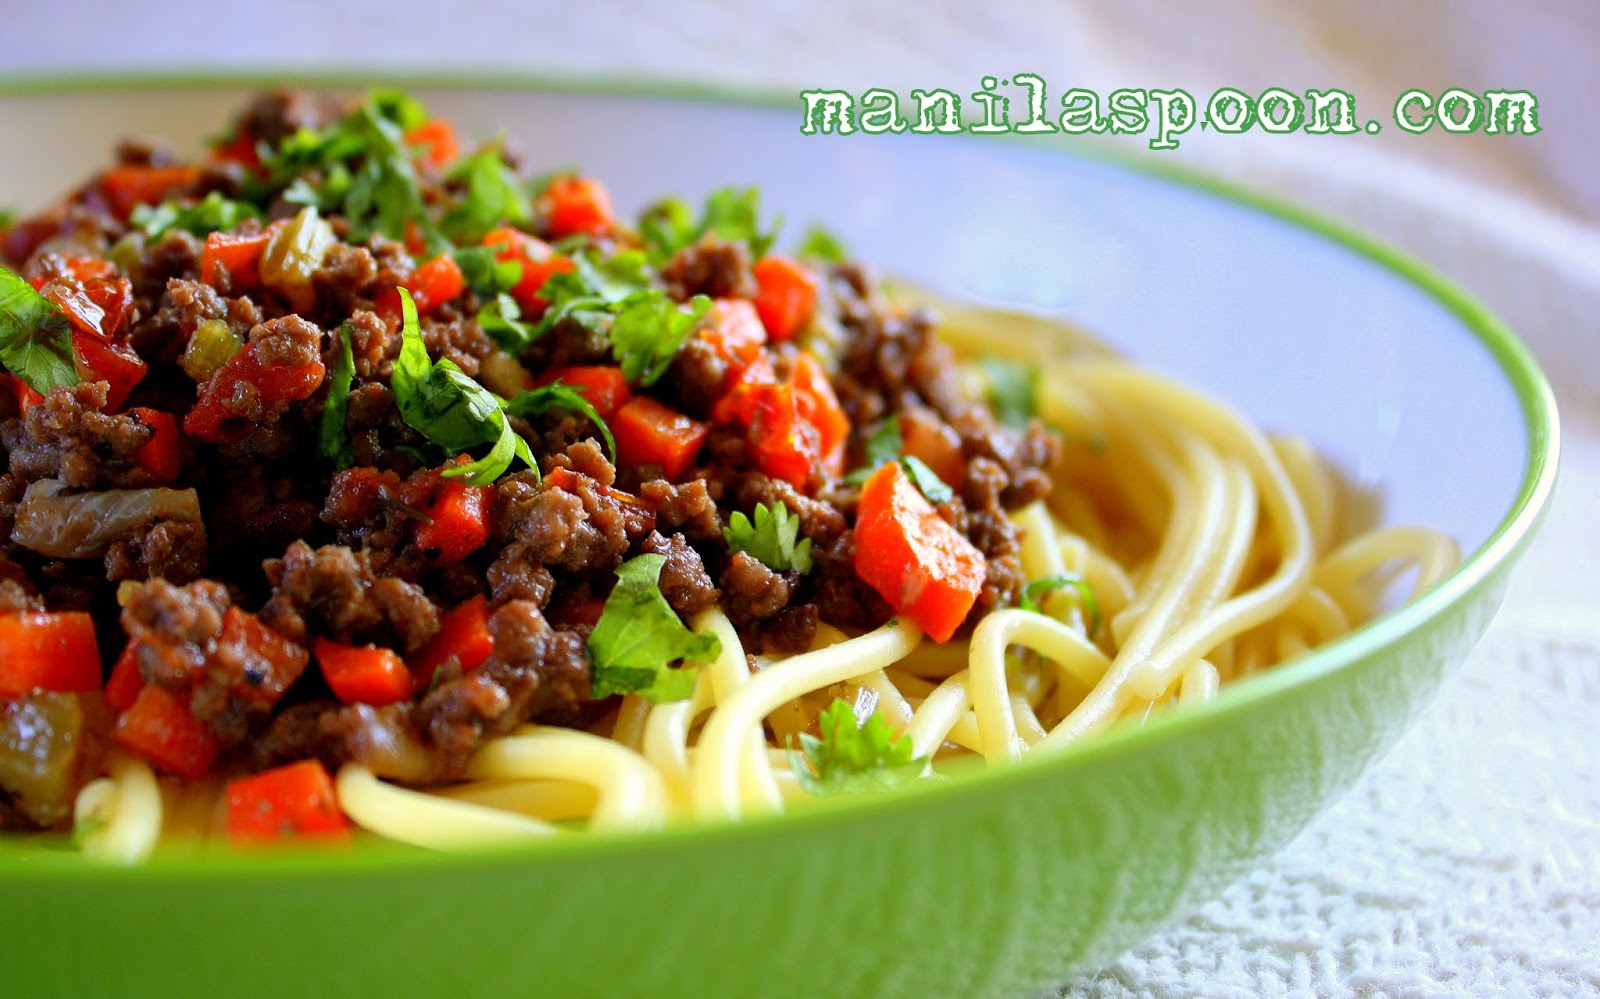
1 recipe for
Bolognese sauce*
1 block of Cream cheese, softened at room temp
1 (8 oz)
tub of Sour cream
12oz - 1 lb Spaghetti, cooked al dente
2 cups, shredded
sharp cheddar cheese (or your favorite Cheese)*
*To ensure that your Baked Bolognese won't be greasy, try to drain the extra drippings from the sauce, if you're bothered by it anyway.
*I use Parmesan cheese, too. You can adjust the amount to taste.
Procedure
Preheat the oven to 350F.
Combine the softened cream cheese and sour cream.
Using a 9 x 13 baking dish, layer the ingredients in this order - place half
of the spaghetti on the bottom, spread evenly on the pasta half of the cream
cheese mixture and then on top spread out the bolognese.
Repeat the layer.
For the final touch, sprinkle the shredded cheddar cheese on top.
Bake in a preheated oven for about 30 mins or until the cheese is melted and the pasta layer is
heated through. Enjoy with some Salad and Garlic Bread!
If you wish to print the recipe, there's a print-friendly icon at the end of the post. Click on the "remove images box" for easy printing.
If you like what you see and would like to receive new recipe updates, we'd love you to subscribe to our posts or join our site. Needless to say, we'd love you to like us on Facebook too where you can get more recipes and updates. Thanks and happy browsing!


.")
.")


.")